Fit begins at structural anchors
Check shoulders, rise, waist, seat, balance, length, and wearing ease while moving; use proportion to connect garments, not police bodies.
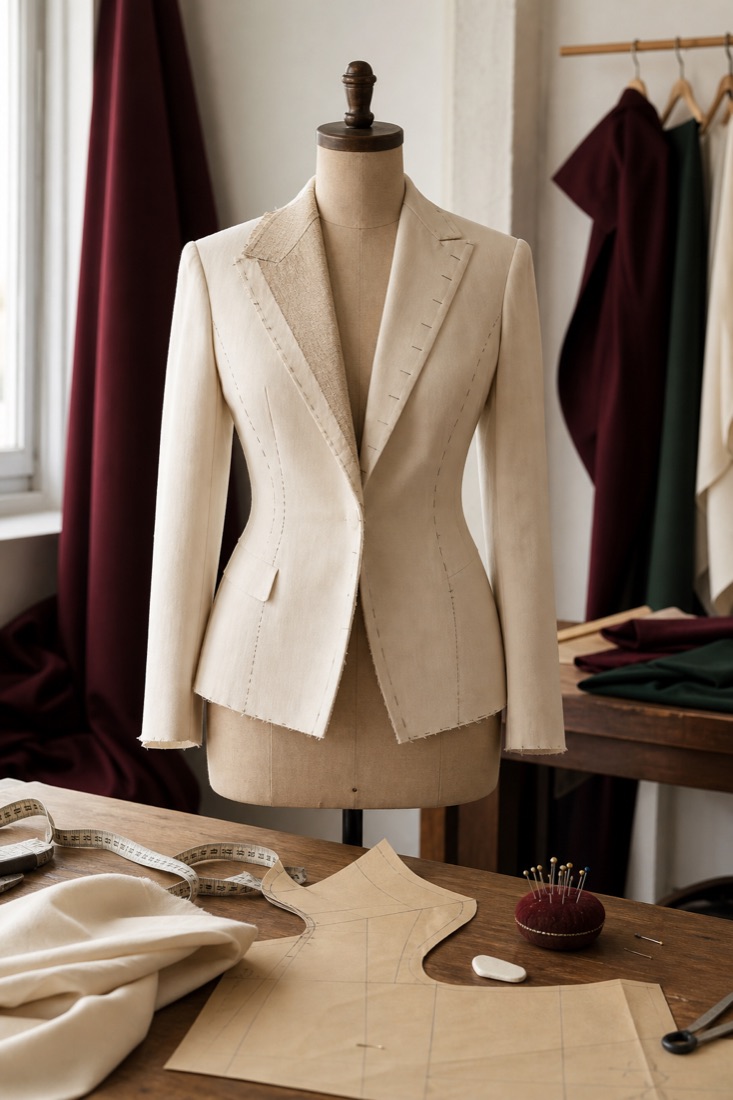
Check anchors before circumference
For a tailored upper garment, begin at the shoulder line, neckline, armhole, and upper back. The shoulder seam should relate sensibly to the intended cut, the collar should lie without unexplained gaps, and the armhole should permit movement without pulling the whole body upward. Oversized design changes the intended shoulder position, so compare the garment to its design rather than one universal rule.
For trousers, start with rise, waist position, hip and seat balance, crotch comfort, and thigh room. Pulling lines point toward tension but require interpretation: a diagonal line may originate at a tight hip, a rotated leg, or the way the waistband sits. Observe front, side, and back while standing naturally before adjusting the garment.
| Entity | Attribute | Observe | Harder to alter? |
|---|---|---|---|
| Jacket | Shoulder and armhole | Seam position, collapse, reach | Usually yes |
| Shirt | Neck and upper back | Collar gap, horizontal tension, sleeve reach | Often |
| Trouser | Rise and crotch shape | Depth, pulling, sitting comfort | Often |
| Skirt | Waist and hip balance | Level hem, rotation, drag lines | Depends on construction |
| Any garment | Length | Function, shoe, intended proportion | Often simpler if allowance exists |
Use a repeatable movement sequence
A fitting-room mirror captures a still moment. Perform movements the garment will meet: sit fully, walk several steps, reach forward and overhead, bend an elbow, place hands in pockets, climb one step if safe, and test the intended coat or base layer. Watch whether closures strain, hems ride and stay displaced, waistbands roll, or fabric restricts breath and stride.
Five-minute fit protocol
- Stand neutrally and inspect front, side, and back balance.
- Fasten every closure without holding the body unnaturally.
- Sit for at least thirty seconds and check waist, rise, thigh, and hem.
- Reach, walk, and layer as the real outfit requires.
- After movement, see whether the garment returns to position or needs constant adjustment.
Fabric changes the interpretation. A stable woven needs enough cut ease for movement; a stretch knit can fit closer but must recover. Read the fabric system before assuming stretch will compensate for poor pattern geometry.
Treat proportion as a relationship
Proportion describes the visual relationship among lengths, volumes, lines, colors, and the wearer. It is not a rule that one body must be disguised. Utah State University Extension describes design elements and principles such as line, shape, color, balance, emphasis, rhythm, and proportion; use them as tools to create an intended composition.
Test whole outfits. A long jacket may work with a narrow or short visible lower section, or with equally relaxed volume when the repeated lines feel deliberate. Shoe shape, trouser break, sleeve length, neckline, and the position where colors change can alter the composition. Photograph the outfit at eye level, then identify the specific relationship you want to change rather than declaring your body “wrong.”
Garment sits correctly
Close, straight, relaxed
Length and color breaks
Outfit supports the intent
Separate feasible alteration from reconstruction
A hem, simple sleeve shortening, small waist adjustment, or button position can be practical when there is enough material and the design allows it. Moving a tailored shoulder, changing an armhole, reshaping a trouser rise, or disturbing complex pockets and lining can require reconstruction. Ask a qualified alterations professional before buying a serious mismatch on the promise that it is “easy to fix.”
Inspect seam allowance, vents, cuffs, lining, embroidery, topstitching, and hardware. A low purchase price does not make a complex alteration economical, and an expensive garment is not worth altering if the base pattern fights the intended body and movement.
Record measurements as search tools
Body measurements and a well-fitting garment can help compare size charts, but numbers do not replace trying the exact cut. Record bust or chest, waist at the intended garment position, hip or seat, inseam, rise preference, shoulder reference, sleeve, and useful finished garment measurements. Note how the reference garment’s material stretches and whether the new item is intended to layer.
| Decision | Reference | Candidate | Result |
|---|---|---|---|
| Shoulder anchor | Reference jacket lies smooth | Candidate collapses beyond intended line | Try another cut |
| Layering ease | Fits over medium knit | Only fits over thin shirt | Reject if winter layer is required |
| Seated waist | Comfortable for two hours | Presses after thirty seconds | Try size or rise change |
| Hem | Works with usual shoes | Extra length with clean allowance | Potential simple alteration |
The correct result is not always “buy.” A documented mismatch saves alteration cost and keeps the wardrobe plan attached to real use.
Sources and further reading
These references support the standards and factual claims in this guide. The decision frameworks and worked examples are original editorial synthesis.
Questions practitioners ask
Does a size label determine whether a garment should fit?
No. Size systems vary by brand, cut, market, and garment. Use the label to locate candidates, then judge structural anchors, ease, balance, and movement.
Can every garment be altered to fit?
No. Hem and simple waist changes may be practical, while shoulders, armholes, rise, complex pockets, and heavily constructed garments can be difficult or uneconomical.
What is wearing ease?
It is the difference between body measurement and garment measurement needed for movement, comfort, design, and layering. The useful amount depends on garment type and material.